|
WAITING FOR THE
SHADOW
ASTROPHOTOGRAPHY by Joseph Cali
|
| PHOTOGRAPHY | ECLIPSES | ASTRONOMY | HOME PAGE |

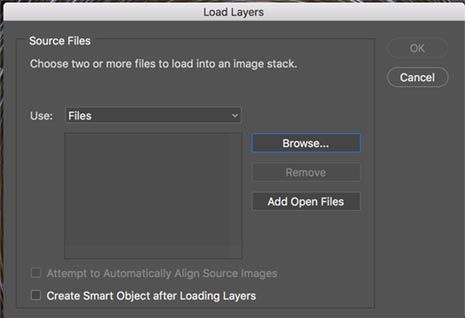
| 2. Click the browse button and navigate to your images. |
 |
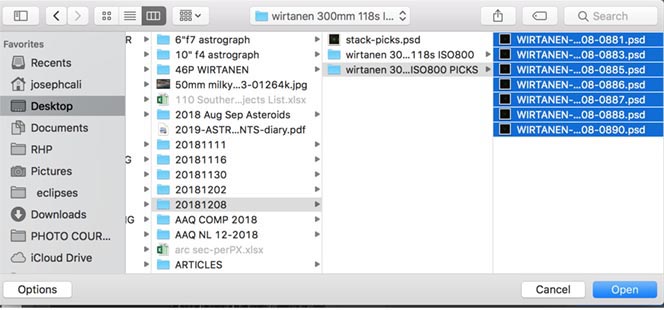
| 3. Find the images and highlight(select) the batch. I prefer to lightly batch process my raws in Lightroom, then export them as 16 bit photoshop files before importing to Photoshop. But you can stack raw files in exactly the same manner. |
 |
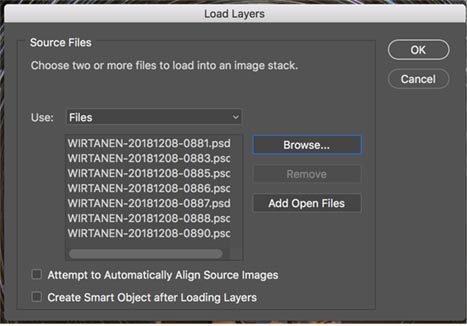
| 4. The file names
will appear in the file window. If the batch of files are all
identical, then you can check the "Attempt to automatically Align
Source Images." In the moving comet example, we don't want to auto
align. Leave it unchecked. Click OK. If it is a big batch, it will take some time for the computer to complete this step. The length of time will depend on your computers hardware. A computer with plenty of RAM, and an SSD will complete the task much quicker than a magnetic external drive and minimum RAM. |
 |


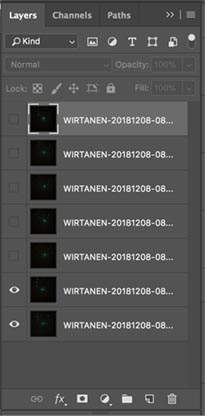
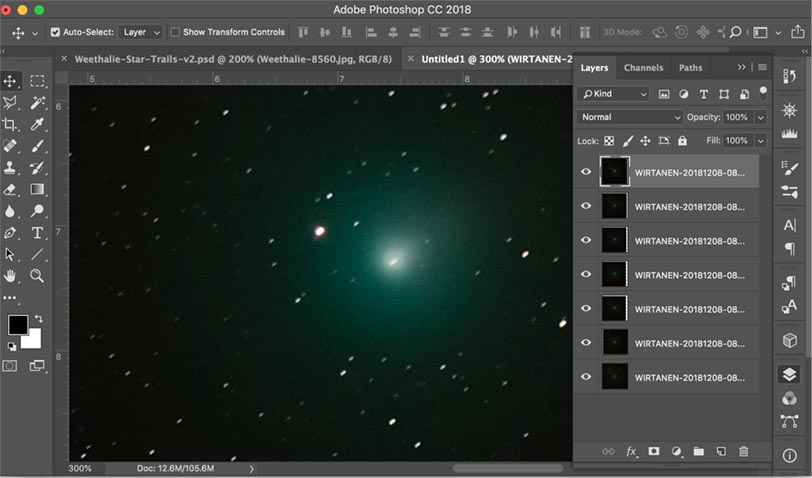
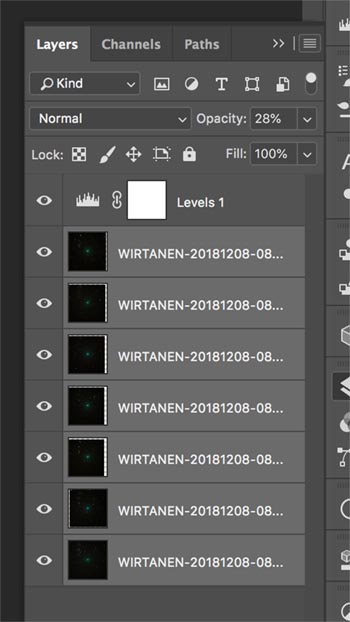
| 6.
Press and turn off all the little 'layer visible (eye)' symbols next to
all the upper layers, leaving just the bottom two layers visible. |
 |
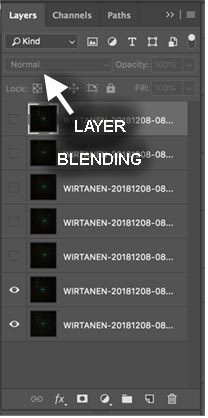
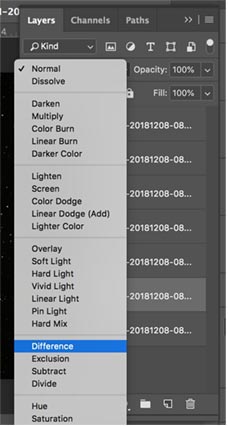
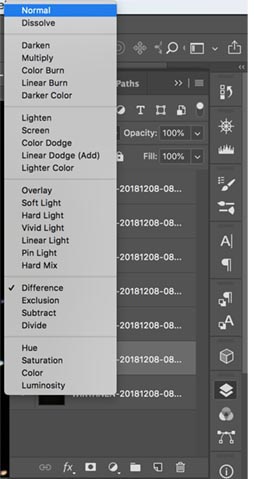
| 7. Set the layer blending mode to 'DIFFERENCE' mode. This will subtract the difference layer from what image detail lays underneath. |
  |
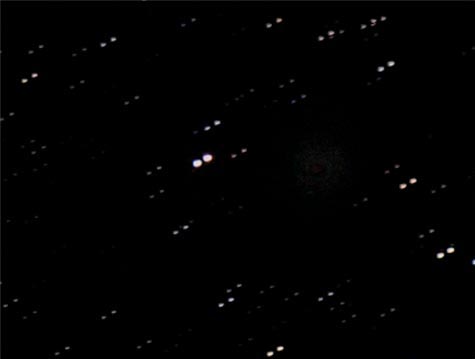
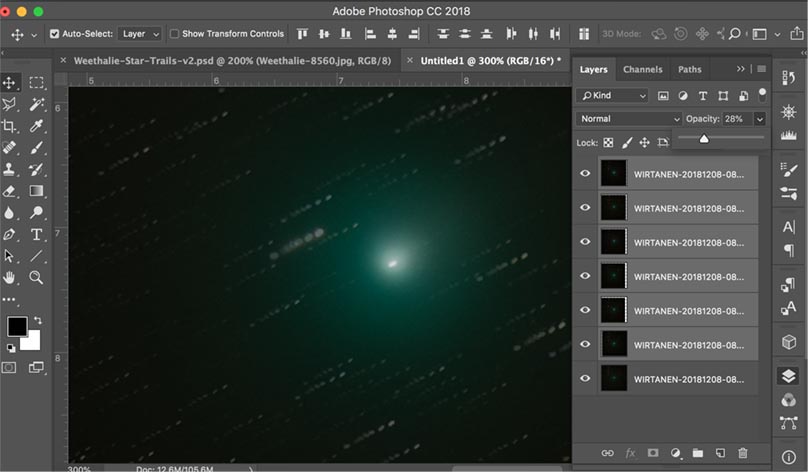
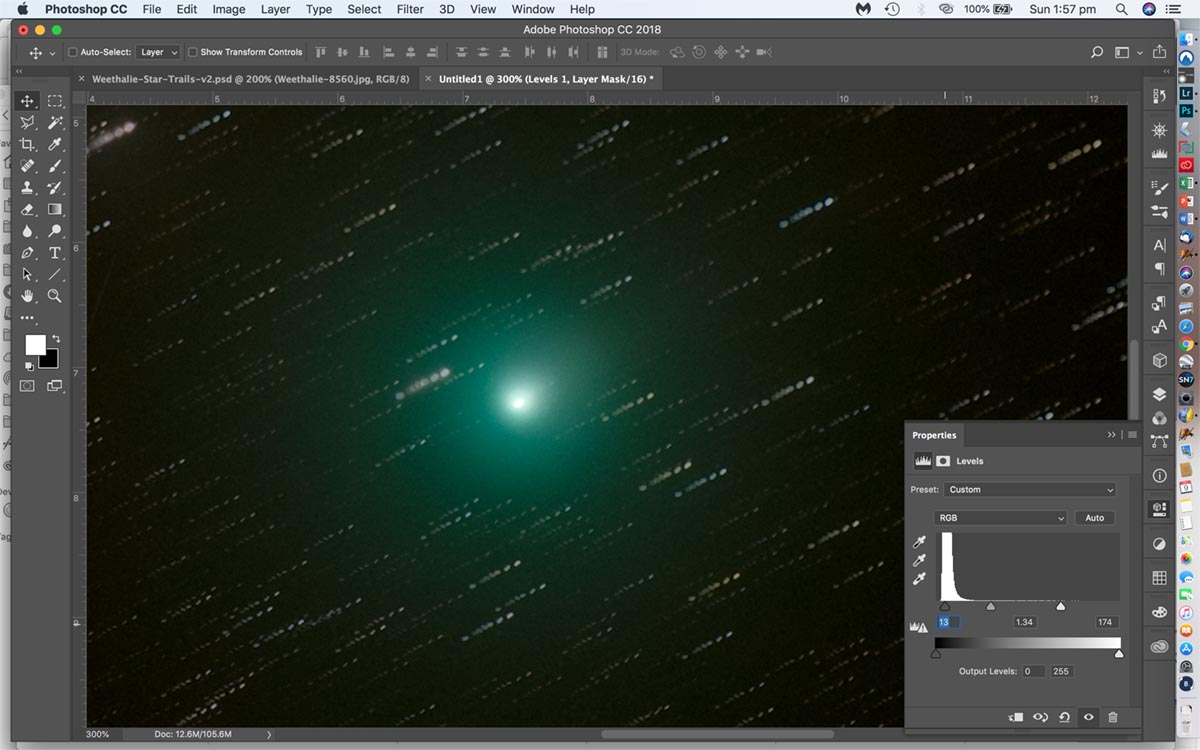
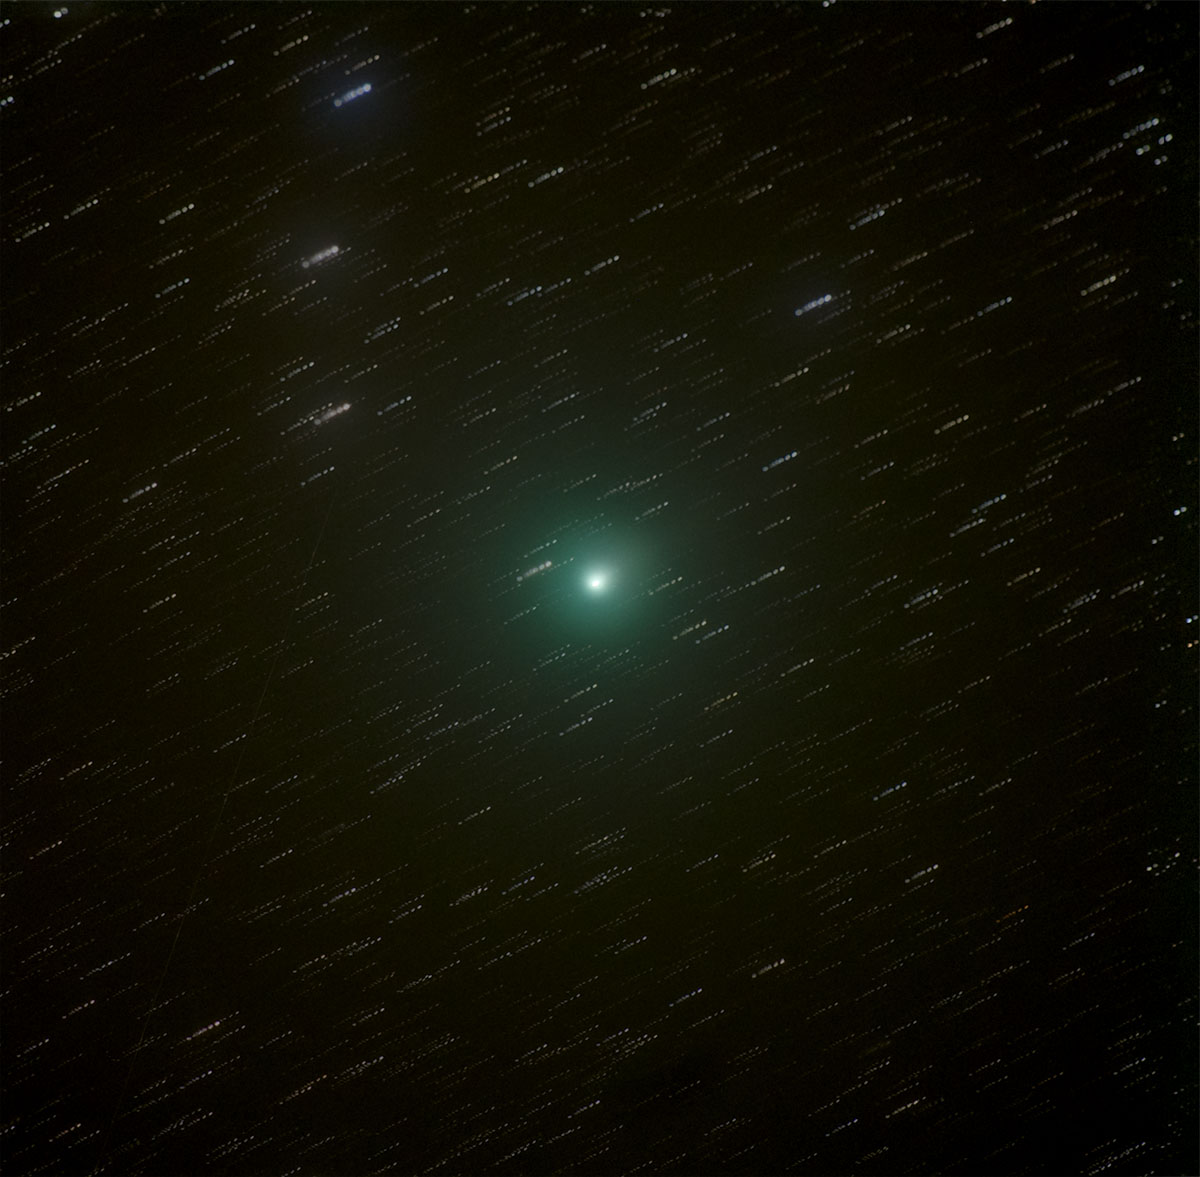
8. Initially you will see two images of each star and two ghostly comet images. Ignore the stars and using the move tool,  align the two images until the two comet images disappear.
Magnifying the image to 200-300% makes it much easier to see when the
images disappear or at least come to a minimum.
align the two images until the two comet images disappear.
Magnifying the image to 200-300% makes it much easier to see when the
images disappear or at least come to a minimum. |
 |
| 9.
You can use the mouse for big drags or the arrow keys for single pixel
shunts until the comet images disappear or at least come to a
minimum. The stars are not aligned and remain as double images. |
 |
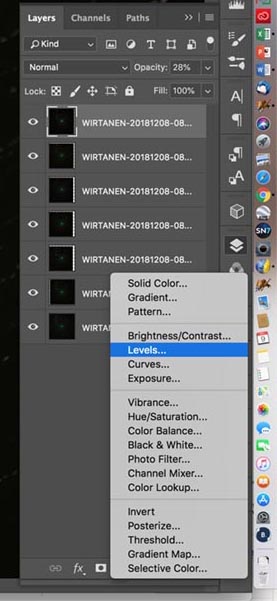
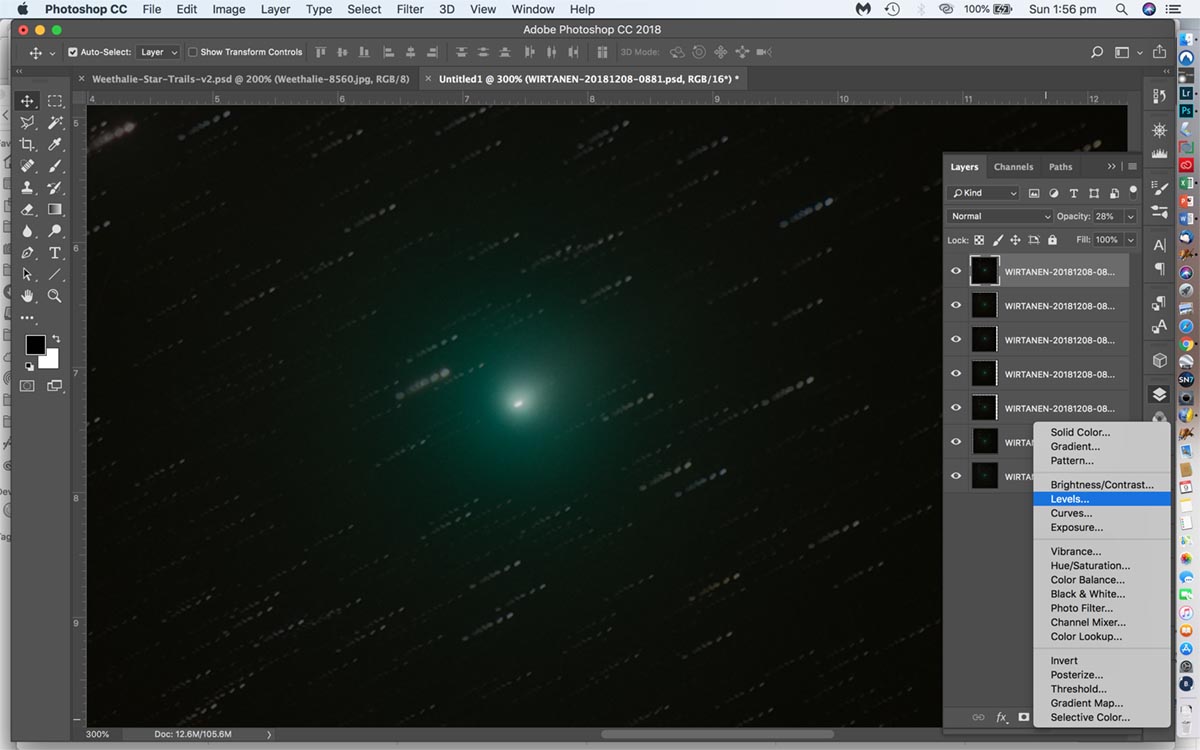
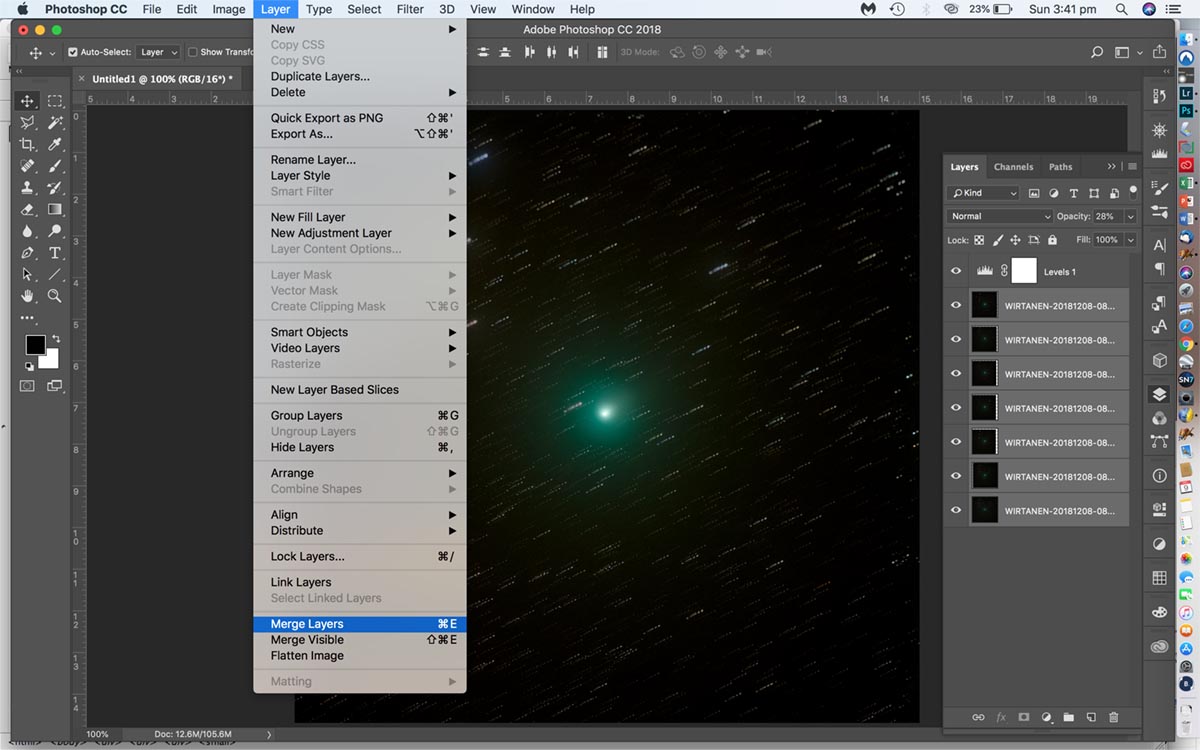
| 10.
Change the layer blending to 'NORMAL.' and then click the eye on the
next later up and repeat steps 7-10 for this layer and each layer above
until all layers are aligned. |
 |


| PHOTOGRAPHY | ECLIPSES | ASTRONOMY | HOME PAGE |